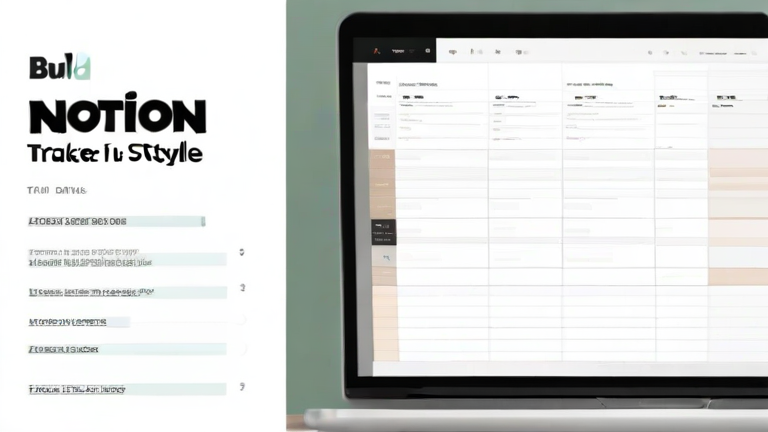
Notion Template Tutorial: Build a Project Tracker in 10 Minutes
TL;DR: Create a new database with columns for task name, status, and deadline to establish your core structure. Add filters and views to visualize progress and streamline your daily workflow immediately.
Step 1: Create the Core Database
Open a new Notion page and type “/table” to create a full-page database. Rename the default “Name” property to “Task Title.” This is the foundation of your tracker. Ensure your table is set to “Full page” so you have enough room to expand later without cluttering your workspace. This initial setup takes less than thirty seconds but defines the entire architecture of your project management system.
If you want to dig deeper, check out our guide on Best Noise-Cancelling Headphones for Remote Work.
Tip: Use Icons for Quick Identification
Click on the property settings for each column. Add an emoji icon to “Status” (like a checkmark) and “Priority” (like a fire). Visual cues reduce cognitive load, allowing you to scan the board faster. Consistent iconography helps team members instantly understand the state of each task without reading detailed descriptions.
Step 2: Define Your Properties
Add three new properties. First, create a “Select” property named “Status” with options: To Do, In Progress, Done, and Blocked. Second, add a “Date” property named “Deadline.” Finally, create a “Person” property named “Assignee.” These three elements cover 90% of project tracking needs. Avoid over-complicating this stage; you can always add more granular details later, such as tags or subtasks, once the core system is running smoothly.
Tip: Keep Properties Minimal at First
Resist the urge to add every possible metric immediately. Start simple. If you find yourself ignoring a column, it is likely not providing enough value to justify the data entry effort. Simplicity drives adoption, especially for teams new to digital project management tools.
Step 3: Build Your Views
Switch to “Board View” for a Kanban-style layout grouped by “Status.” This gives you a visual pipeline of work. Then, create a “Table View” filtered to show only tasks with “Status” set to “To Do” or “In Progress.” This filtered view acts as your daily agenda. Use the “Sort” function to arrange items by “Deadline” in ascending order. This ensures the most urgent tasks are always at the top of your list, keeping your focus sharp and actionable.
Tip: Use Filters to Reduce Noise
Clutter is the enemy of productivity. Use filters to hide completed tasks from your main table view. This keeps your interface clean and focused on what needs immediate attention. You can always access archived or completed items via a separate “Archive” view when you need to review past performance or conduct retrospectives.
Step 4: Automate and Refine
Finally, set up a simple automation or reminder. If Notion’s built-in automations are not available, use a simple rule: when a task is moved to “Done,” it automatically updates the date. Encourage your team to use the “Assignee” property consistently. After ten minutes, you have a functional, scalable tracker. You can now duplicate this template for different projects or teams, maintaining consistency across your organization while allowing for individual customization where needed.
FAQ
Q: Can I customize this template for personal use?
A: Yes, simply remove the “Assignee” property and add a “Notes” column for personal context or links to relevant documents.
Q: What happens if I add too many properties?
A: Adding too many properties can slow down data entry and reduce usability. Start with the essentials and only add fields when you have a specific, recurring need for that data.
Q: Is this template suitable for large teams?
A: It is
Leave a Reply