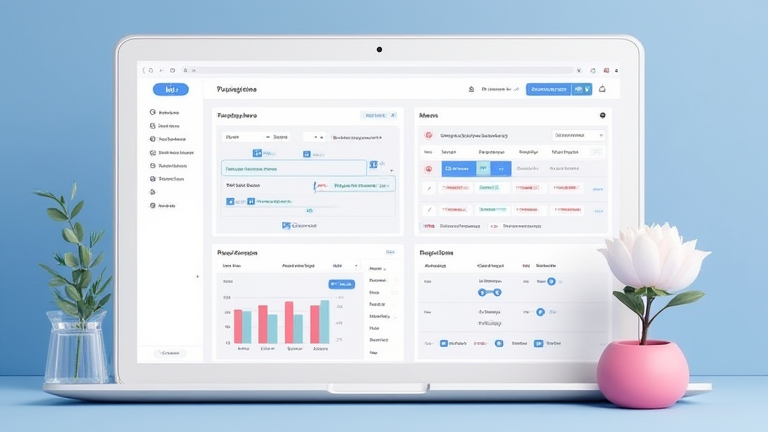
TL;DR: Create a master database with properties for status, priority, and due dates, then build a dashboard using filtered views to track progress visually. Use relations to link tasks to projects and leverage rollups for automatic status summaries to keep your workflow streamlined.
Step 1: Create the Master Database
The foundation of any robust Notion setup is a single source of truth. Instead of creating separate pages for every project, start by creating a new full-page database named “Project Hub.” This central repository will store all tasks and projects. Open the database settings by clicking the “+” icon next to the header. You need to define specific properties that will drive your automation and filtering. Add a “Select” property for “Status” with options like To Do, In Progress, Blocked, and Done. Add another “Select” for “Priority” with High, Medium, and Low options. Next, add a “Date” property for “Deadline” and a “Person” property for “Assignee.” Finally, add a “Select” property for “Project Category” to help you group items later. This structure ensures that every piece of data is standardized, making it easier to query and visualize later.
If you want to dig deeper, check out our guide on 5 Proposal Follow-Up Tips That Actually Win Deals.
Step 2: Design Your Dashboard Views
A dashboard is only useful if it presents the right information at a glance. Within your “Project Hub” database, create different views tailored to specific workflows. First, create a “Board” view and group the items by the “Status” property. This Kanban-style view allows you to drag and drop tasks between stages, providing a visual representation of workflow. Next, create a “Table” view named “Upcoming Deadlines.” Filter this view to show only items where the “Status” is not “Done” and the “Deadline” is within the next seven days. Sort this table by the “Deadline” property in ascending order. This view serves as your immediate to-do list. Finally, create a “Gallery” view grouped by “Project Category.” Each card in this view can display a cover image and key metadata, giving you a high-level overview of all active projects without getting bogged down in details.
Step 3: Implement Relations and Rollups
To make your dashboard truly powerful, you need to connect data points. If you have a separate “Projects” database, create a “Relation” property in your “Project Hub” database that links tasks to their respective projects. This allows you to see all tasks belonging to a specific project directly within the project page. To add more intelligence, use “Rollup” properties. For example, create a rollup on the “Projects” database that counts how many tasks are in the “Done” status for each project. You can then create a progress bar property or a simple number indicator that automatically updates as tasks are completed. This eliminates the need for manual tracking and ensures that your project status is always accurate based on real-time task completion data.
Step 4: Automate with Buttons and Templates
Efficiency is key to maintaining a consistent workflow. Use Notion’s button feature to create quick actions. On your main dashboard page, add a “New Task” button that pre-fills certain properties, such as setting the default status to “To Do” and the priority to “Medium.” You can also create template buttons for recurring tasks, such as “Weekly Review” or “Sprint Planning.” When you click these buttons, Notion will generate a new page with a pre-structured checklist or agenda. This reduces cognitive load and ensures that every new entry follows your established best practices. Additionally, consider using Notion’s AI features to summarize long task descriptions or generate meeting notes directly into the relevant task pages, further streamlining your documentation process.
Pro Tips for Optimization
Keep your dashboard clean by hiding unused properties in each view. Only show the columns that are relevant to that specific workflow. Use color coding effectively; assign distinct colors to different priorities or statuses in your database settings. This visual cue helps you identify bottlenecks or urgent items instantly. Regularly review your filters and groupings. As your projects evolve, your needs will change. What
Leave a Reply