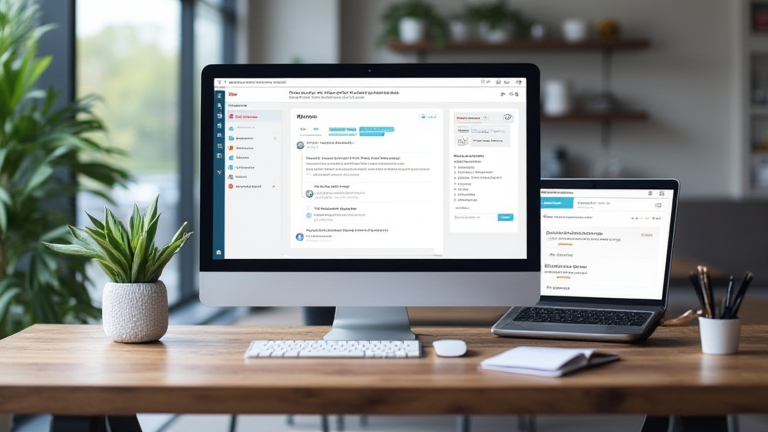
TL;DR: Create a new Notion database with columns for name, company, and last contact date. Add a kanban board view to track relationship status and set up automated reminders for follow-ups.
Introduction
Managing professional and personal relationships can be overwhelming. A Customer Relationship Management (CRM) system helps you keep track of interactions, preferences, and follow-up dates. Building a personal CRM in Notion is surprisingly simple and highly customizable. In this tutorial, you will learn how to set up a functional CRM in just ten minutes. You do not need any coding skills or expensive software. All you need is a free Notion account and a clear understanding of your networking goals.
If you want to dig deeper, check out our guide on Datacenter Backlash: Political Unity Against Big Tech Billio.
Step 1: Create the Database
Open your Notion workspace and create a new page. Inside this page, type slash and select “Database.” Choose “Table” as the initial view. Rename the database to “Personal CRM.” This central table will hold all your contact information. Ensure the database is linked to the current page so it remains accessible from your homepage.
Step 2: Define Properties
Now, customize the columns to fit your needs. Add a “Name” property of type “Title.” Add a “Company” property as a “Text” field. Next, add a “Role” property as a “Select” option with choices like CEO, Engineer, or Founder. Crucially, add a “Last Contact” property as a “Date” field. Finally, add a “Status” property as a “Select” with options such as New Lead, Active, or Dormant. These properties form the backbone of your data structure.
Step 3: Configure Views
Switch to the “Board” view by clicking the plus icon next to the table view. Choose “Board” and set the grouping property to “Status.” This creates a Kanban board where you can drag contacts between stages. This visual representation helps you prioritize who needs attention. For example, drag a contact from “New Lead” to “Active” once you have had a meaningful conversation.
Step 4: Add Details and Notes
Click on any contact card to open its detail page. Here, you can add rich text notes about your conversations. Use bullet points to list key topics discussed. You can also create sub-pages for specific projects with that person. This depth ensures you never forget important context during future meetings.
Step 5: Automate Reminders
To prevent relationships from falling through the cracks, set up reminders. In Notion, you can use the “Button” feature or simple date formulas. Create a button labeled “Schedule Follow-up” that adds seven days to the “Last Contact” date and sets a new target date. Alternatively, use a filter on your board to show items where “Last Contact” is older than thirty days. Review this filtered view weekly to re-engage dormant contacts.
Tips for Success
Keep your data clean by updating the “Last Contact” date immediately after every interaction. Use tags in your notes to categorize interests, which helps in sending personalized content. Regularly review your “Dormant” column to decide which relationships to nurture or archive. Consistency is key to a successful CRM.
FAQ
Q: Can I import existing contacts from my email provider?
A: Yes, you can export your email contacts as a CSV file and import it directly into your Notion database. Just ensure the column headers match your property names for a smooth import process.
Q: Is this CRM suitable for a large team?
A: This tutorial is designed for personal use. For teams, you should add shared permissions, assign specific owners to properties, and create separate views for different departments to maintain data organization and access control.
Q: What happens if I delete a contact by mistake?
A: Notion has a trash feature where deleted items are stored
Leave a Reply