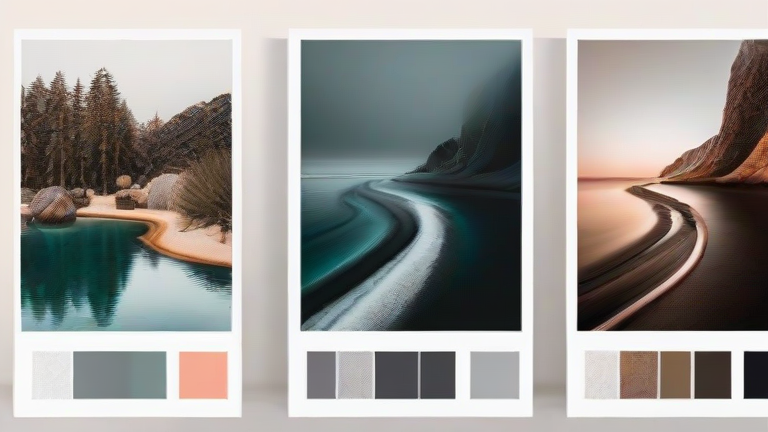
TL;DR: Master Lightroom presets by first applying them to a base image and then fine-tuning exposure, color, and detail settings to match your specific scene. Consistent practice with diverse lighting conditions will help you understand how to blend preset aesthetics with manual corrections for professional results.
How to Master Lightroom Presets: Step-by-Step Editing Tutorial
Understanding the Foundation
Before diving into presets, ensure your camera settings are optimized. Shoot in RAW format to retain maximum data, allowing for greater flexibility when applying presets. A well-exposed base image reduces the need for extreme adjustments later, preserving image quality and avoiding digital noise or color banding artifacts in shadows and highlights.
If you want to dig deeper, check out our guide on 10 Evidence-Based Health Tips to Boost Your Energy and Welln.
Step 1: Applying and Evaluating Presets
Open your image in Lightroom and navigate to the Presets panel. Apply a preset that closely matches your desired aesthetic. Do not judge the result immediately. Instead, step back and evaluate the overall tone, contrast, and color balance. Ask yourself if the mood fits the subject. If the preset looks too harsh or dull, it is not a failure; it is a starting point. Use the “Copy Settings” and “Paste Settings” tools to experiment with different presets on the same image to compare their effects side-by-side.
Step 2: Adjusting Light and Color
Most presets require manual tweaking to look natural. Begin with the Basic panel. Adjust the Exposure, Contrast, Highlights, and Shadows sliders to ensure proper dynamic range. If the sky is blown out, lower the highlights. If shadows are murky, lift them slightly. Next, move to the HSL/Color panel. Presets often introduce color casts. Use the White Balance sliders to neutralize unwanted tints. Fine-tune specific hues, such as reducing saturation in skin tones or boosting vibrancy in foliage, to make the image pop without looking artificial.
Step 3: Refining Detail and Texture
Navigate to the Details panel. Apply noise reduction if the image was shot in low light, but be careful not to smooth out important textures like hair or fabric. Adjust the Clarity and Dehaze sliders sparingly. A slight increase in Clarity can add micro-contrast, making the image feel sharper and more defined. However, excessive use can create an unnatural, hyper-real look. Finally, check for lens corrections and apply them to fix distortion or vignetting, ensuring a polished finish.
Pro Tips for Success
Develop your own preset library by saving custom adjustments that work well for your style. This saves time and ensures consistency across your portfolio. Remember that no two images are identical. Lighting, location, and subject matter all influence how a preset renders. Always treat presets as a foundation, not a final solution. Practice editing the same scene with different presets to understand how each variable impacts the final output. Over time, you will develop an intuitive sense for which adjustments are necessary to achieve a professional look, allowing you to edit faster and more confidently.
FAQ
Q: Can I use Lightroom presets on phone photos?
A: Yes, but results vary. Phone cameras process images differently, so presets may need more manual adjustment to match the dynamic range and color profile of high-end cameras.
Q: Why does my preset look different on other people’s photos?
A: Presets apply fixed values to variable inputs. Differences in lighting, white balance, and camera sensor characteristics cause presets to render differently. Always fine-tune settings after applying a preset to accommodate these variables.
Q: How many presets should I own?
A: Quality over quantity. Start with a small set of versatile presets that cover common lighting scenarios. Adding too many presets can lead to decision fatigue and inconsistent editing styles across your work.
Leave a Reply