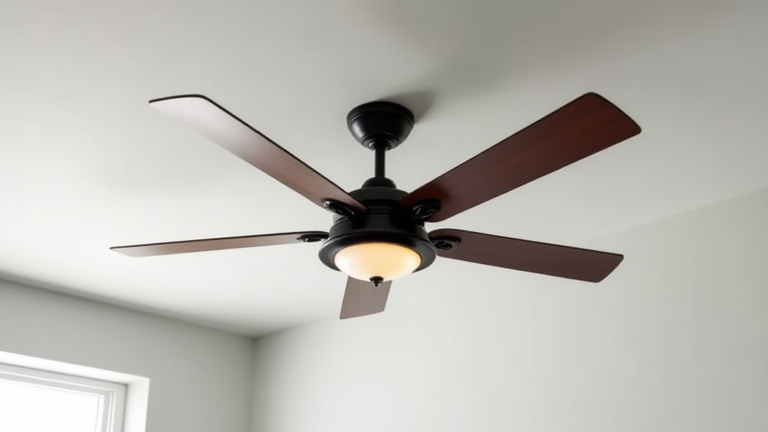
TL;DR: To install a ceiling fan, turn off the power at the breaker, remove the old fixture, mount the new bracket, and wire the fan according to the manufacturer’s instructions. Always verify the electrical box is rated for fan support before beginning any work.
Preparation and Safety First
Installing a ceiling fan is a rewarding DIY project that improves air circulation and adds aesthetic value to your room. However, safety is the absolute priority. Before touching any wires, locate your home’s circuit breaker panel and switch off the power to the room where you will be working. Use a non-contact voltage tester to confirm that the wires in the ceiling junction box are truly dead. This simple step prevents severe electrical shock or injury. Additionally, ensure you have a sturdy ladder that reaches the ceiling comfortably. You will need a screwdriver set, wire strippers, wire nuts, and a helper to hold the fan while you secure it. Most importantly, inspect the existing electrical box. Standard light fixture boxes are often not strong enough to support the weight and vibration of a ceiling fan. If the box is not labeled “Fan Rated,” you must replace it with a brace that attaches directly to the ceiling joists to ensure stability and safety during operation.
If you want to dig deeper, check out our guide on How to Install WordPress on Bluehost Step by Step Tutorial.
Mounting the Bracket
Begin by removing the old light fixture or fan. Disconnect the wires and unscrew the mounting bracket from the electrical box. Take a moment to clean the area and inspect the wiring for any signs of damage or wear. Once the old hardware is removed, install the new mounting bracket provided with your ceiling fan kit. Secure this bracket firmly to the electrical box using the provided screws. The bracket must be tight and level to prevent wobbling later. If your kit includes a downrod, assemble it now by threading the wires through the downrod and connecting the motor housing to the downrod according to the manual. This assembly process is easier to do on the ground before lifting the heavy unit into the air.
Wiring and Hanging the Fan
With the help of your assistant, lift the fan motor assembly and hook it onto the mounting bracket. Secure it with the provided locking screw or pin. Next, connect the wiring. Typically, you will match black to black (hot), white to white (neutral), and green or bare copper to the ground wire. Use wire nuts to cap each connection securely, twisting them clockwise until tight. Tuck the wires neatly into the electrical box, ensuring no copper is exposed. Finally, attach the fan blades to the motor hub using the provided screws. Install the light kit if applicable, and add the appropriate bulbs. Turn the power back on at the breaker and test the fan using the remote or wall switch. If the fan wobbles, check the blade balance or ensure all screws are tightened. Enjoy your new, smoothly operating ceiling fan.
FAQ
Q: Can I install a ceiling fan without an electrician?
A: Yes, if you are comfortable working with basic wiring and turning off power at the breaker, most homeowners can install a standard fan safely.
Q: What if my existing electrical box is not fan-rated?
A: You must replace the existing box with a fan-rated brace that mounts directly to the ceiling joist to support the weight and motion of the fan.
Q: Why is my ceiling fan wobbling after installation?
A: Wobbling is usually caused by unbalanced blades, loose screws, or an improperly mounted bracket. Check all hardware and consider using a fan balance kit.
Leave a Reply