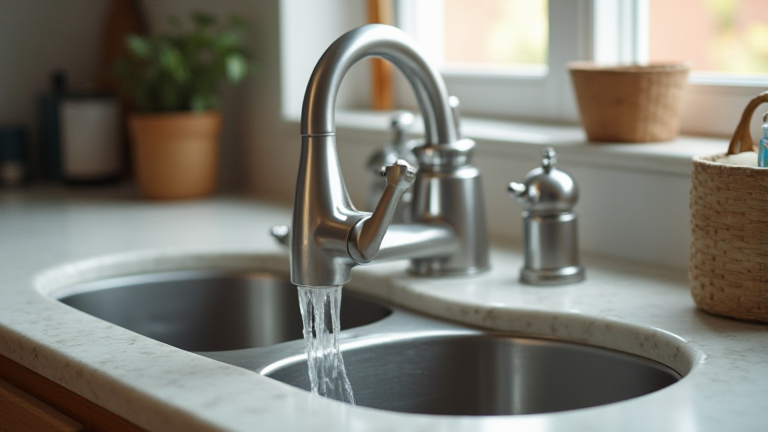
TL;DR: Turn off the water supply under the sink, remove the handle and cartridge, replace the worn washer or O-ring, and reassemble the fixture to stop the drip. If the issue persists, consider replacing the entire cartridge or valve seat for a permanent fix.
Prepare Your Workspace
Before you begin, gather your tools: an adjustable wrench, screwdrivers, pliers, replacement washers or O-rings, and a rag. It is crucial to shut off the water supply valves located under the sink to prevent flooding. If there are no individual valves, you may need to turn off the main water supply to your home.  Always open the faucet briefly after turning off the water to release any remaining pressure and drain the lines. Lay down a towel in the sink basin to catch small parts and prevent them from falling down the drain.
Disassemble the Faucet
Locate the decorative cap on the faucet handle, usually marked with “H” or “C,” and pry it off with a flathead screwdriver. Underneath, you will find a screw securing the handle. Remove this screw and gently lift the handle off. If it is stuck, use pliers carefully to avoid damaging the finish. Once the handle is removed, you will see the stem or cartridge assembly. Use an adjustable wrench to unscrew the packing nut holding the stem in place. Pull the stem out carefully, noting its orientation so you can reinstall it correctly.
Replace Worn Parts
Inspect the bottom of the stem for a rubber washer and an O-ring. These are the most common culprits for leaks. If the washer is cracked, flattened, or torn, replace it with an identical new one. Similarly, if the O-ring appears brittle or deformed, swap it out for a new one of the same size. If the faucet uses a ceramic disc cartridge, you might need to replace the entire cartridge unit rather than individual seals. Ensure the new parts are clean and free of debris before installation.
Reassemble and Test
Reinsert the stem or new cartridge into the faucet body, ensuring it aligns perfectly. Tighten the packing nut with your wrench, but avoid over-tightening, which can damage the threads. Reattach the handle and secure it with the screw. Replace the decorative cap. Turn the water supply back on slowly and check for leaks. Run the water to ensure smooth operation. If the faucet still drips, double-check that all connections are tight and that the new parts are seated correctly.
FAQ
Q: What tools do I need?
A: You will need an adjustable wrench, screwdrivers, pliers, and replacement washers or O-rings.
If you want to dig deeper, check out our guide on 10 Mind-Blowing AI Facts You Need to Know Now.
Q: How long does the repair take?
A: Most repairs take between 30 to 60 minutes, depending on your familiarity with the task.
Q: Can I use any replacement parts?
A: No, you must use parts that match your specific faucet model to ensure a proper seal and fit.
Leave a Reply